
In a previous blog I showed you how to convert existing PDF worksheets into Google Slides digital worksheets to use with your online or hybrid classes. But what if you don’t have a PDF to convert and want to make something from scratch instead? In this guide I’ll show you how to make worksheets in Google Slides from scratch, and the good news is that the process is relatively simple. Let’s get to it.
Get started
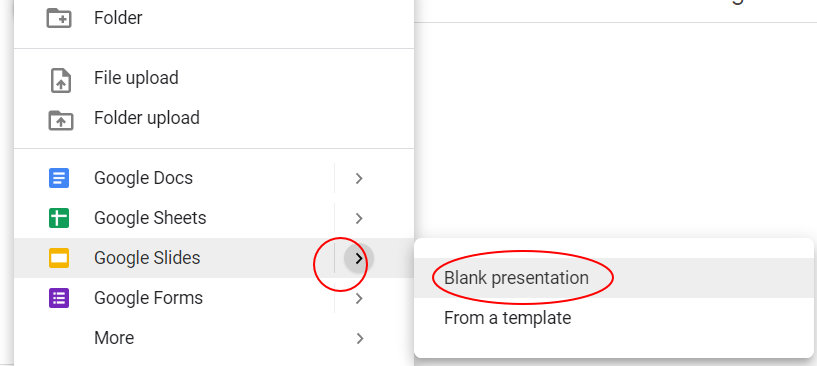
First let’s start with a blank presentation. To open up a blank presentation from google drive, choose ‘New’, then choose new ‘Slides’ and ‘Blank Presentation’. If you want to change the dimensions of the page to make them printer friendly, you need to go to ‘File’’ then ‘Page Setup’. However, adjusting the page size is not necessary for digital only worksheets.
Slide Master
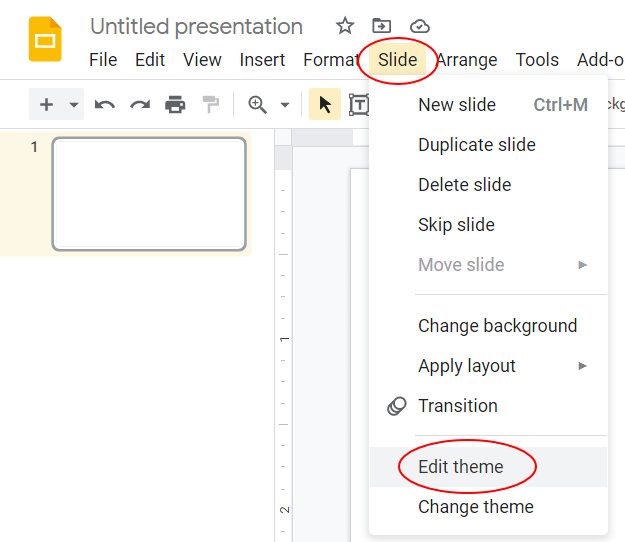
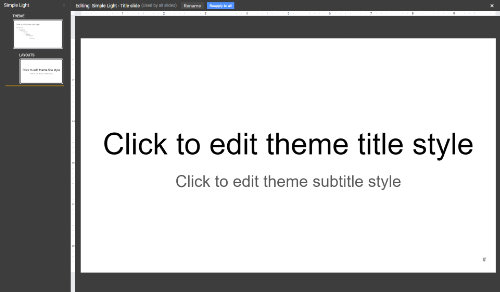
The first thing we want to do is start working on the slide master. Under the ‘Slide’ tab, choose ‘Edit Theme’ (this used to be called ‘Edit Master’). All the slides shown against the black background are the master slides.
In the slide sorter on the left-hand side under ‘Layout’ delete all the slides except one. On the remaining slide, remove all of the text boxes by left clicking on the frame and pressing ‘delete’ or ‘backspace’.
Make a template
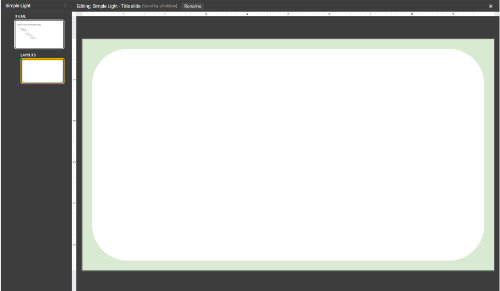
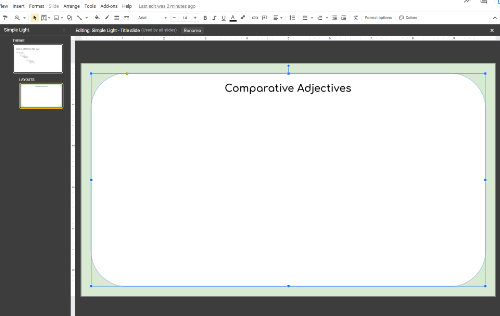
First, we are going to add some design elements that we want on all of our slides. I’m going to add a pastel green border using the ‘shapes’ and ‘fill color’. You could use ‘border color’ instead for something simple but effective.
If you are not familiar with using the shapes and colors in Google Slides, then check out this Youtube tutorial.
Add a title using the text box, and change the font, font size and colour to suit your preference.
Duplicate your master slide
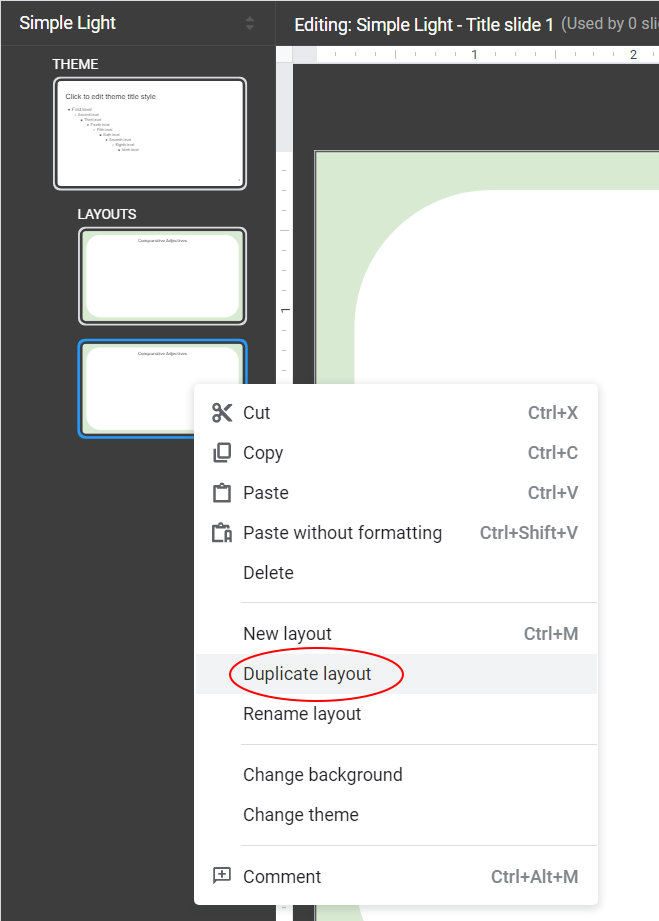
When you are happy with your background, right click on the mini view of the slide in the left hand slide sorter, and click ‘duplicate layout’.
This is a good point in time to save a template for future use. Go back to your Google Drive. Right click the file and choose ‘make a copy’. Then rename it so that it is clear it is a template. I’ll call mine ‘Worksheet Template 1’.
Add more master slides
We need to keep working on the master slides to add the things we don’t want the students to be able to edit. For this example, I’m going to add some clip-art and some gap fill sentences.
Once you have made as many template slides as you want, it is another good time to save another template. You never know when you might want to make a very similar worksheet.
Student input
When you are finished adding all the elements that you don’t want the students to be able to manipulate, we need to exit the slide master so that we can add the interactive elements.
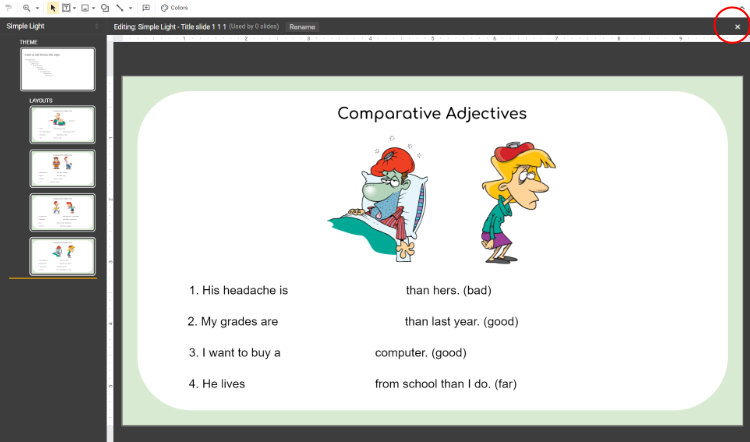
Look for the ‘x’ symbol in the top left of the area with the black background. Click the ‘x’ and you will return to the regular slide view.
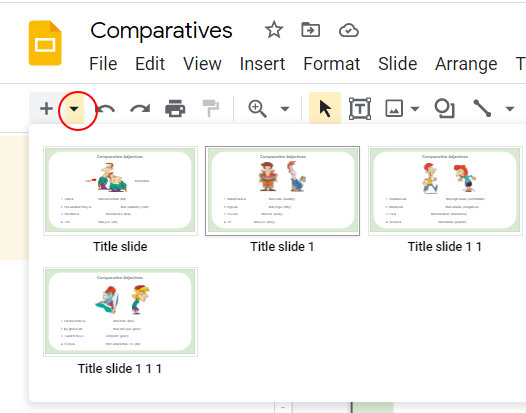
To add a new slide with one of our templates, go to the new slide button and click on the drop-down menu next to it (see image).
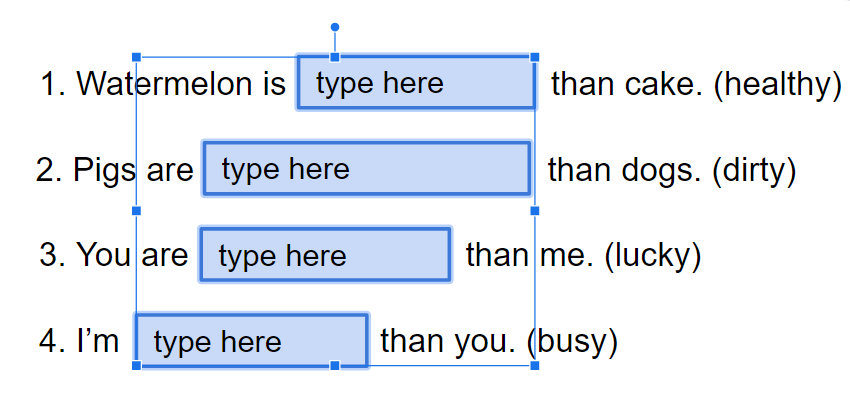
All of the slide templates we made will appear in the drop down menu. Choose the one you wish to use. As my worksheets have gap fill exercises, I’m going to need to add text boxes that the students can fill in.
Add text boxes
Choose the text box icon, and holding the left mouse button, drag a marquee to an approximate size you want the text box to be. Don’t worry if it’s not quite the right size, we can adjust it later.
First, drop the font size down a few points. Next click the ‘align’ tab and choose the ‘middle’ option, which appears below the ‘center’ option (see image).

Now, type in some text such as ‘type answer’. We want to adjust the height of the text box, so find the square on the bottom of the text box, hover over it with the cursor until you see the double (up/down) arrow (see image).
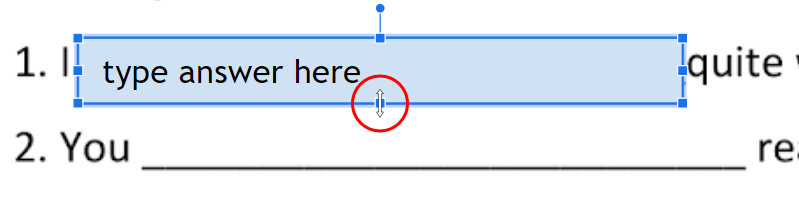
Click and drag until the text box is an appropriate height. If the box height is too narrow for the text you may need to reduce the font size further.
Highlight text boxes
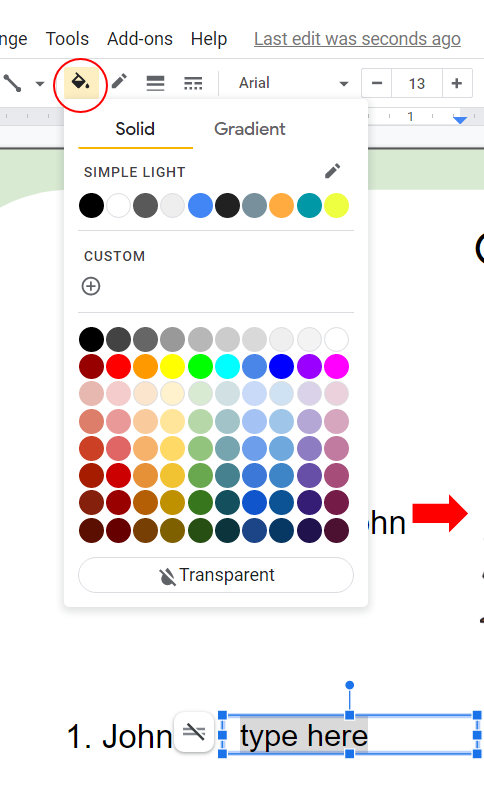
We need to make it clear to students where they should type their answers, so colouring the text boxes is a good idea. With the text box selected (click the border of the text box) click the ‘fill color’ tool and choose a faint background colour.
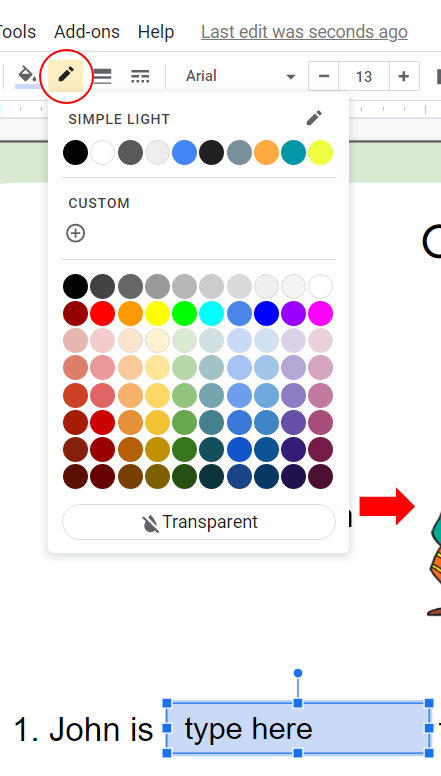
Next click the ‘border color’ tool and choose a slightly darker color for the border of the text box.
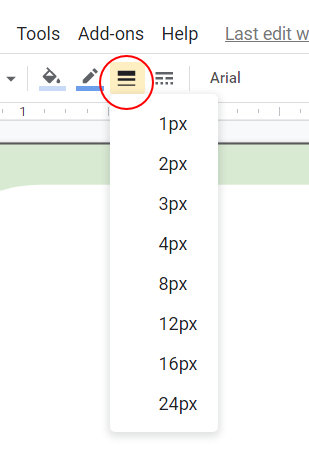
Finally, click the ‘border weigh’ option, and choose a thicker border.
TURN OFF AUTO CAPS
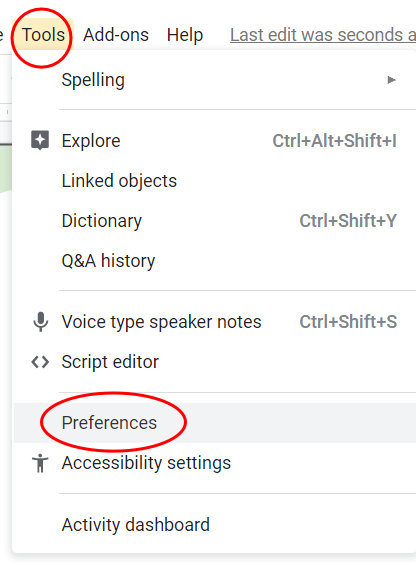
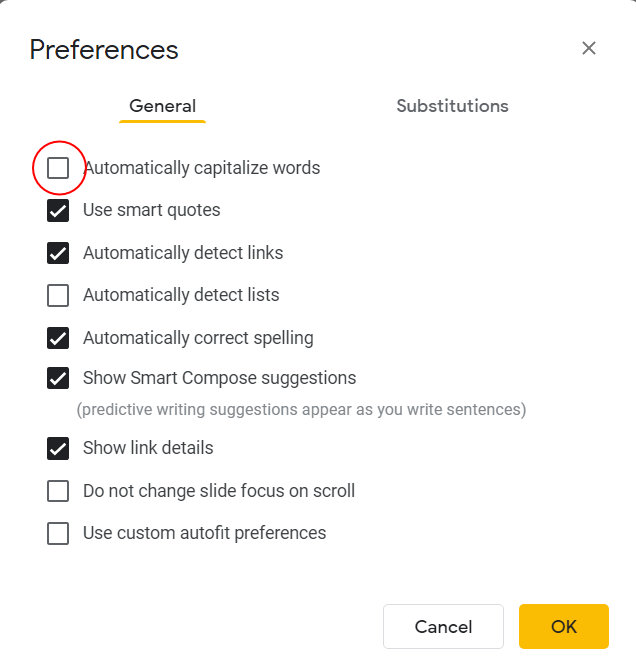
If you are making a gap fill exercise, one annoying feature is the auto fill function. It will make the first letter in the text box a capital letter. With most of the ‘gaps’ being in the middle of sentences, this can be quite frustrating if you don’t know how to turn it off. Click on the ‘Tools’ dropdown menu, and choose ‘Preferences’. From there, uncheck ‘Automatically capitalize words’.
Duplicate text boxes
If we need more than one text box, it is much quicker to copy it. You can copy and paste, and then drag the new box. Alternatively, hold down control, hold down the left mouse button on the text box, and drag it to the desired location. A new text box is created as you start dragging. Release the left mouse button before you release the Control button.
If you have multiple slides, it can save a lot of time to copy all the text boxes from one slide and paste them to the next. then all you have to do is reposition them, and adjust their width. To do that hold down the left mouse button and drag a marquee around all the text boxes. Then copy and paste by pressing Control +C , and click the target slide and press Control + V.
Finely position the text boxes
You can use the arrow keys to position the boxes as well as dragging with the mouse. Often this is easier if you just want to move it in one direction. To finely adjust the position of the boxes, hold down the Shift button while using the arrow keys.
Add a different master
For your next slide, go back to ‘Add slide’ and choose a different template from the dropdown menu, and repeat the process.
Share as an editable file
Once the worksheets are finished, you’ll want to share them with your students. If you haven’t already, give your slides worksheet a file name by typing it in the box in the top left corner. To share the slideshow, click the orange ‘Share’ button in the top right corner. We need to share the Google Slides worksheet in an editable form. Otherwise, students won’t be able to fill in the text boxes.
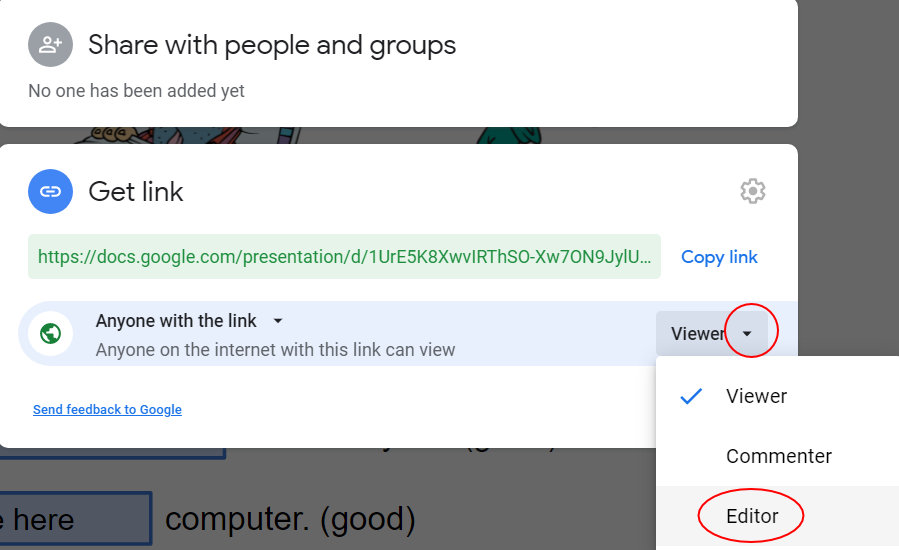
Click on ‘Share’ in the top right corner, when we share the worksheet we want to choose ‘anyone with the link can edit’. Now you can share the link via Google Classroom so that each student gets their own individual copy to work on.
That’s All Folks
That was our guide on how to make worksheets in Google Slides from scratch. If you want to know how to convert your PDF worksheets in to Google Slides, you can read our guide here. Alternatively, if you want some ready made Google Slides worksheets to get you started, we have several on our TpT store for practicing Daily Routines, Abilities (modal verb can), Past Simple, Future Plans and Intentions (‘Going to’ future) and more. We also have a bundle of online worksheets available with a great discount.
Happy Teaching!