
Teaching is becoming more and more reliant on technology. So how about 10 tech tips to make your life easier, speed up your prep workflow and make things run a little more smoothly in the classroom. This list may include some fairly basic tips, but I guarantee you there will be at least 1 or 2 new tips for even the most computer savvy of you. Some of the tips were inspired by conversations with colleagues, others are tips I’ve only picked up recently and are noticeably speeding up my workflow. So with out further ado, here are my ten essential tech tips for ESL teachers.
Save to PDF
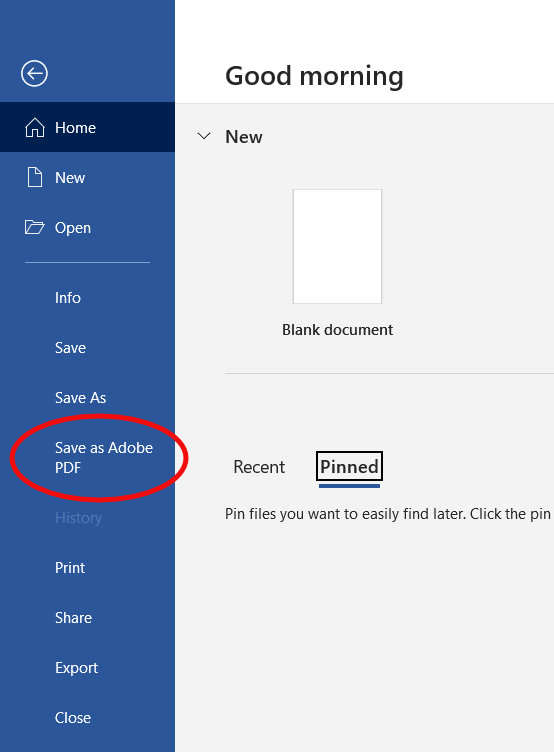
This one may seem pretty basic to some of you, but it just may not have occurred to others. Firstly, what is the advantage of saving to a PDF? Saving to a PDF fixes everything in place preventing any editing or changes to the formatting. This which makes it ideal for sending to students, or for sending your resume to potential employers. In addition, if you print your resources from a different computer, printing from a PDF ensures you don’t need to worry whether or not MS Office is installed on that computer.
How to save as a PDF? Most software has a ‘save as PDF’ option somewhere. It used to be under the file format dropdown in older software, but these days it’s more accessible (see image).
Save Powerpoint presentations as ‘shows’
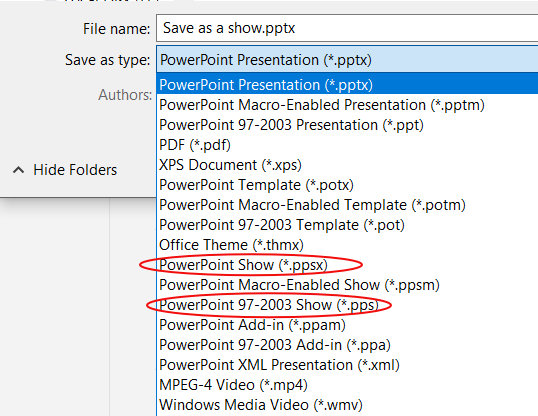
Do you distribute your powerpoint slideshows to your students? If you are sending them the files as a .ppt or .pptx, then the students need to hit ‘F5’ or go to the ‘slideshow’ menu and choose ‘from beginning’. What might be worse is that students can edit your files. By saving as a show – ‘filename.ppsx’ (or ‘filename.pps’ for compatability with older versions), the students can’t edit your work, and when they click on the file, it automatically opens in presentation mode.
Shortcut keys
You probably know Control + C and Control + V for copy and paste. You’ll also know how useful they are and how much time they can save. Add Control + Z to the list – it is the shortcut for ‘Undo’ and works in every situation I’ve tested it in, and is so incredibly useful. If you are like me, and often hit a wrong key or click on the wrong thing, and suddenly everything is messed up; either fixing it takes a few minutes, or perhaps you don’t even know what you did wrong. Just hit ‘Control + Z’, and you are back to how things were before.
Looking for more useful shortcuts? There’s a useful list of windows shortcut keys here.
Paste without formatting
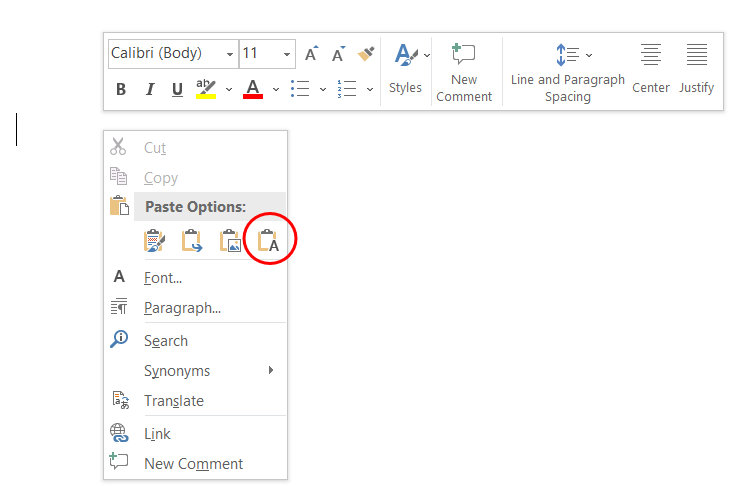
How often do you copy and paste something into your document, and it brings the formatting along with it which then proceeds to mess up your document and then you spend ages trying to put things right? Simply press ‘Control +Z’ to undo (see, we’re using it already), then right click the mouse button and choose the symbol for paste text only (see image) or press ‘T’. The text is pasted with no formatting.
Copy an area from a PDF
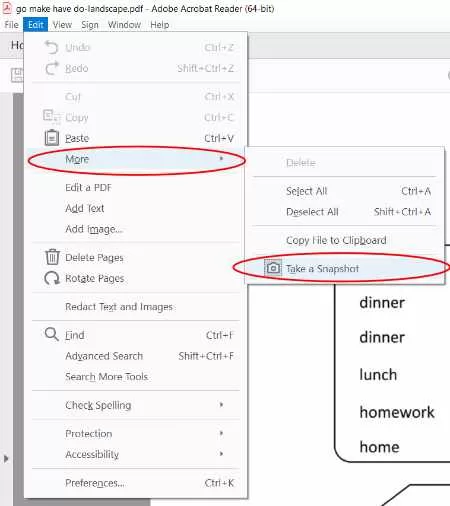
You have a PDF file, which could be one you made or perhaps one a colleague has shared with you, and you want to copy an area from that PDF. Perhaps you want to copy one exercise from a PDF and put it on a powerpoint so you can write the answers in and go over them with your students. Open the PDF with ‘Adobe Acrobat DC’ PDF viewer, open the Edit menu, and choose ‘More’ then choose ‘take a snapshot’ (see pic). Now you can hold down the left mouse button, and drag the marquee over the are you want to copy. When you release the mouse button the area will be automatically copied to your clipboard. Now you just need to go to your powerpoint slide and press ‘Control + V).
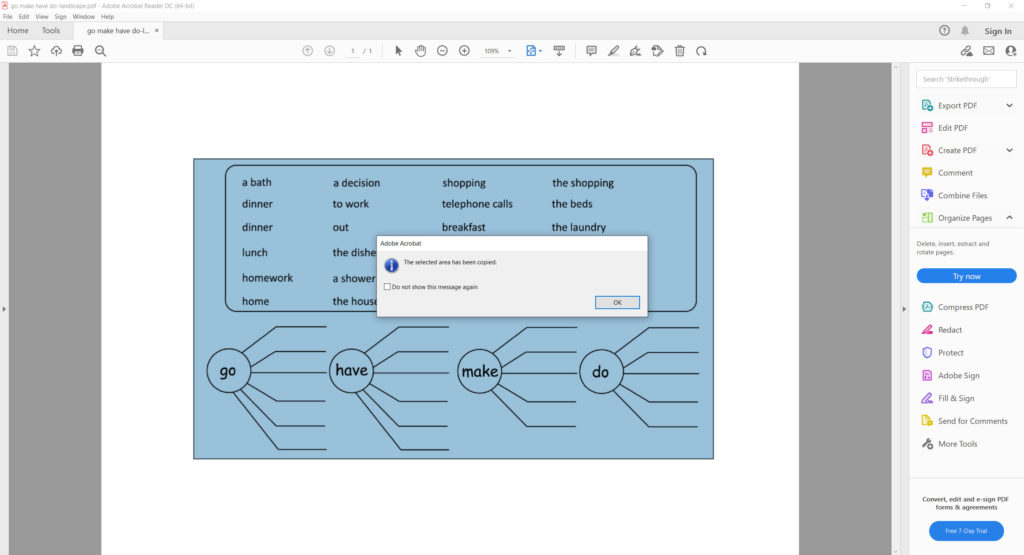
Bear in mind that PDF documents from other sources may have security setting applied to protect the author’s work. In which case you won’t be able use this function to copy from the secured PDF, unless you contact the author and request an unlocked PDF.
Screeenshots
Screenshots were one of the most useful things when we first went online in 2020. Being able to show students what to click on in Zoom and the Leaning Management System was incredibly useful. For windows 10 users, you simply hit the windows key and Printscreen key. The screenshot will be saved under Images> Screenshots.
Crop screenshots
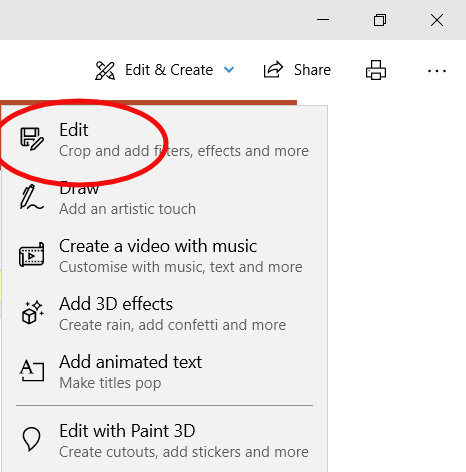
Windows 10 has some basic editing tools included in its photo viewer. The crop tool is incredibly useful for quickly cropping a screenshot to add to a document or powerpoint presentation. Just go to the ‘Edit and Create’ menu, choose ‘Edit’, and then you can adjust the area you want cropped. Then hit ‘save’.
Continuing a presentation half way through
In class, you’ll sometimes be half way through a slideshow when you want to use some other media, so you exit the presentation and minimize powerpoint. When you want to go back to your slides you open powerpoint back up and hit ‘F5’, and you presentation starts from the very beginning and you have to quickly scroll trough all your slides to find the point where you left off. Or you could just hit ‘Shift +F5’ instead, and continue right where you left off. You could also use the menu; go to Slideshow, then choose ‘Continue from current slide’.
Pin browser tabs
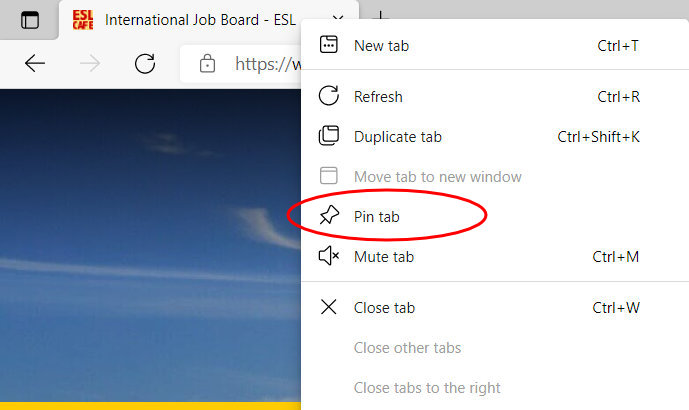
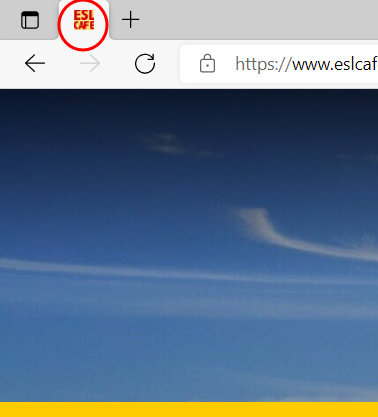
Web browsers such as Google Chrome allow you to pin tabs, so that when you open the browser, the pinned tabs are there at the top left and the pages are loading without you having to type the address or go to your bookmarks. Pinning tabs can save you a lot of time for pages you visit daily or multiple times a day. It would be especially useful if you teach online or hybrid classes and pinned, for example, Zoom, Google Classroom (or your LMS), Google docs, and perhaps a specific folder in your Google Drive.
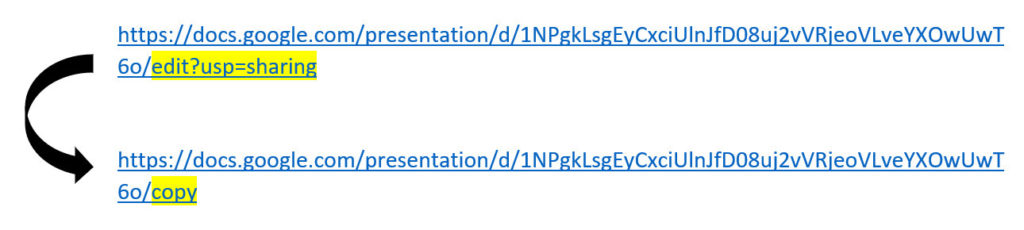
Force Copy a Google Document
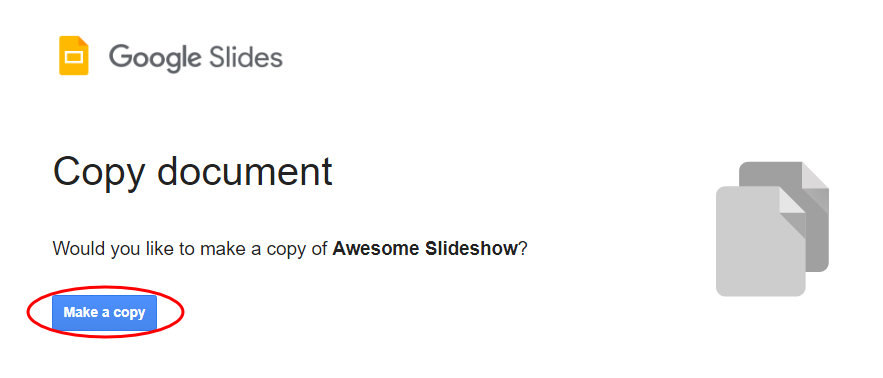
Are you using Google Docs? Want to share a document with colleagues? You probably know how to collaborate on a document by using the share link with edit permissions. However, if you just want to give your colleague a copy so it is saved to their Google Drive and any changes don’t affect your file, then you need to force a copy. To do this get the regular sharing link ending in ‘xxx/edit?usp+sharing’. Copy that to word and change the last part after the forward slash from ‘/edit?usp=sharing’ to ‘/copy’. Then send that link to your colleague. When they click on it, they will have the option to save a copy to their Google Drive.
That’s All Folks!
Those were my ten essential tech tips for ESL teachers. I’m pretty sure there were a few new ones in there for most of you. Let me know in the comments which ones end up saving you the most time (or frustration). Did you know all of these? Well, you are a certified tech genius. Let us know your top tech tip for ESL classes below. Happy Teaching!